This is delicious decadent. It combines two desserts of your favorites: gourmet brownies and cheesecake. Each square has 3.5 grams net carbs! You will not believe its Keto and low carb and actually good for you.
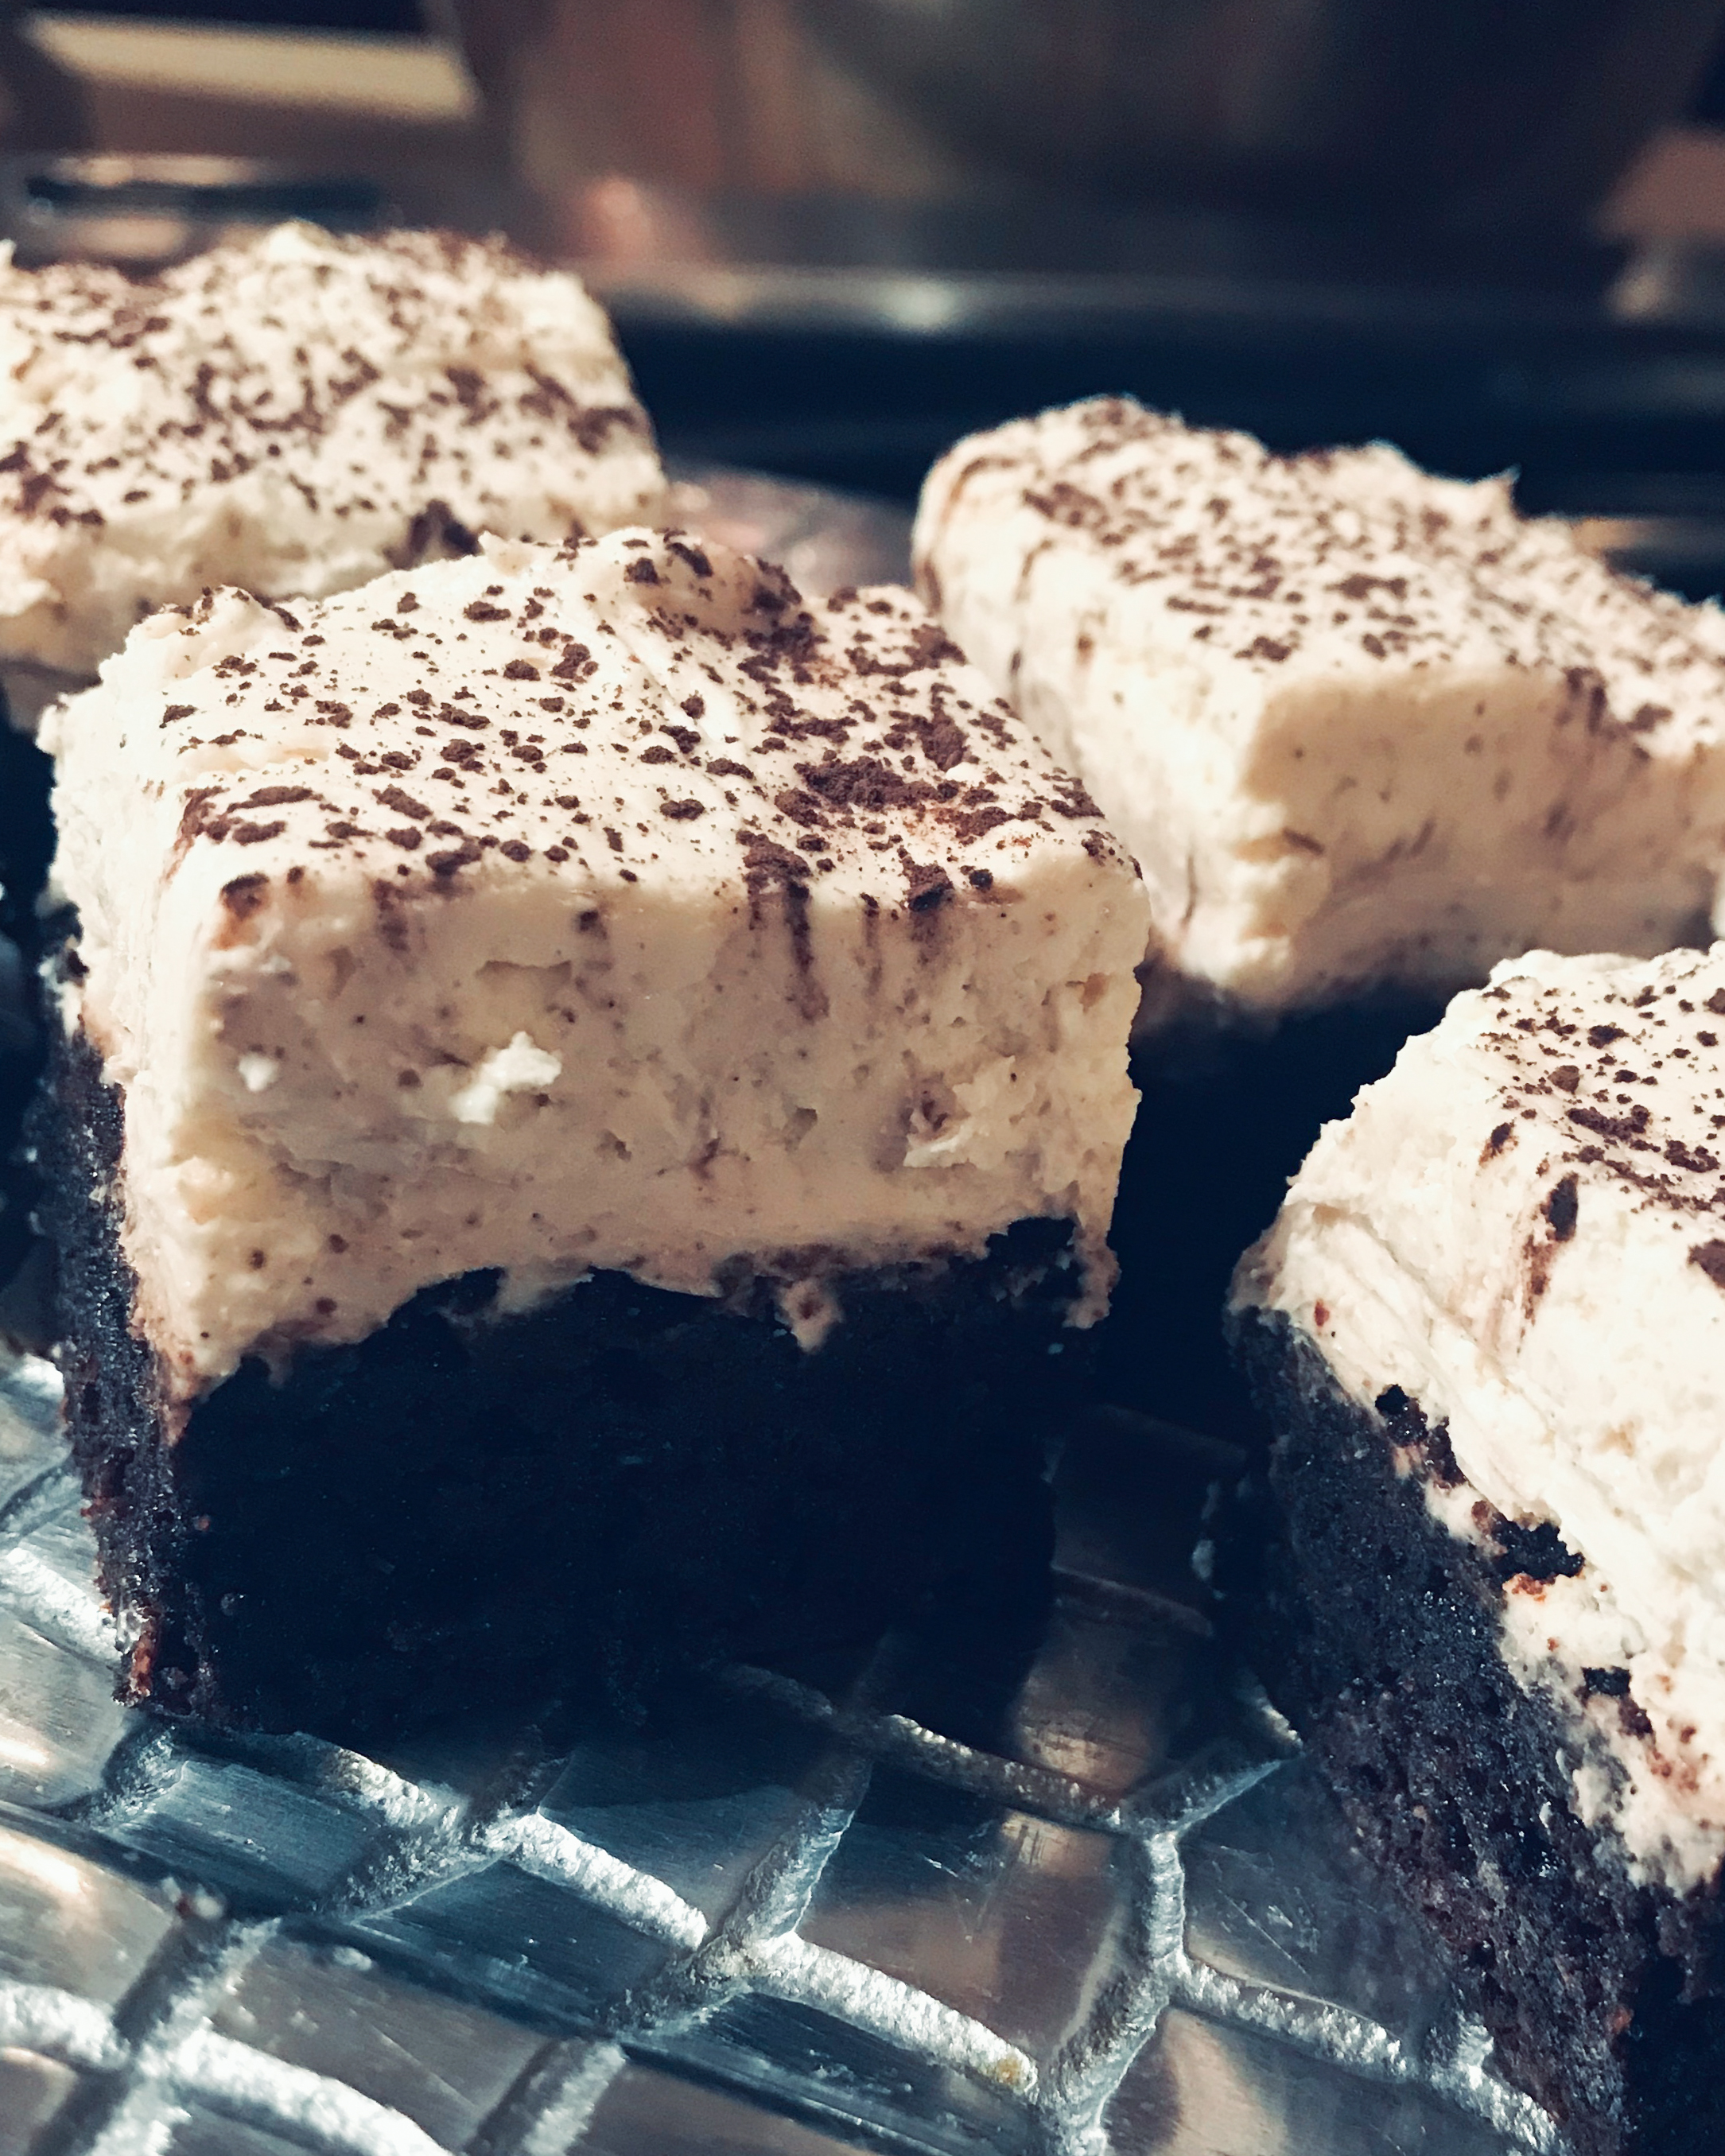 All you have to do is use our Gourmet Brownie mix as the base and add the Cheesecake topping.
- BROWNIE BASE
- 1 box Diabetic Kitchen Gourmet Brownie mix(prepared according to the box)
- CHEESECAKE TOPPING
- Mix:
- 12 ounces cream cheese, softened
- 2 TBL Whey Low Sweetener for diabetics
- 17 drops of Liquid Stevia, to taste
- 2 tsp vanilla extract with vanilla beans
- ½ tsp ground cinnamon
- Mix:
- ¾ cup heavy cream (in a separate mixing bowl)
- 7 drops liquid stevia
- Shaved chocolate or cocoa powder to garnish
- You will need two bowls for the cheesecake topping.
- In the first bowl with your mixer combine the cream cheese, Whey Low, stevia, vanilla extract and cinnamon.
- Blend the mixture until it is smooth and creamy. Test for the sweetness. It should not be super sweet because you have the sweetness of the brownie and you will be slightly sweetening the whipping cream before you add it as well.
- In the second bowl bowl, use your mixer to whip the heavy cream and liquid stevia until stiff peaks form.
- Slowly fold the whipped cream into the cream cheese mixture until they are well blended.
- Spread the cheesecake topping over the cooled brownies that are still in the pan with the parchment paper. Place the dessert in your refrigerator for 2-3 hours. This allows the cream cheese topping to set making it easer to cut into squares.
- Remove from the refrigerator and lift the brownies from the pan with the parchment paper ‘handles’. You will be cutting the brownies into 16 pieces.
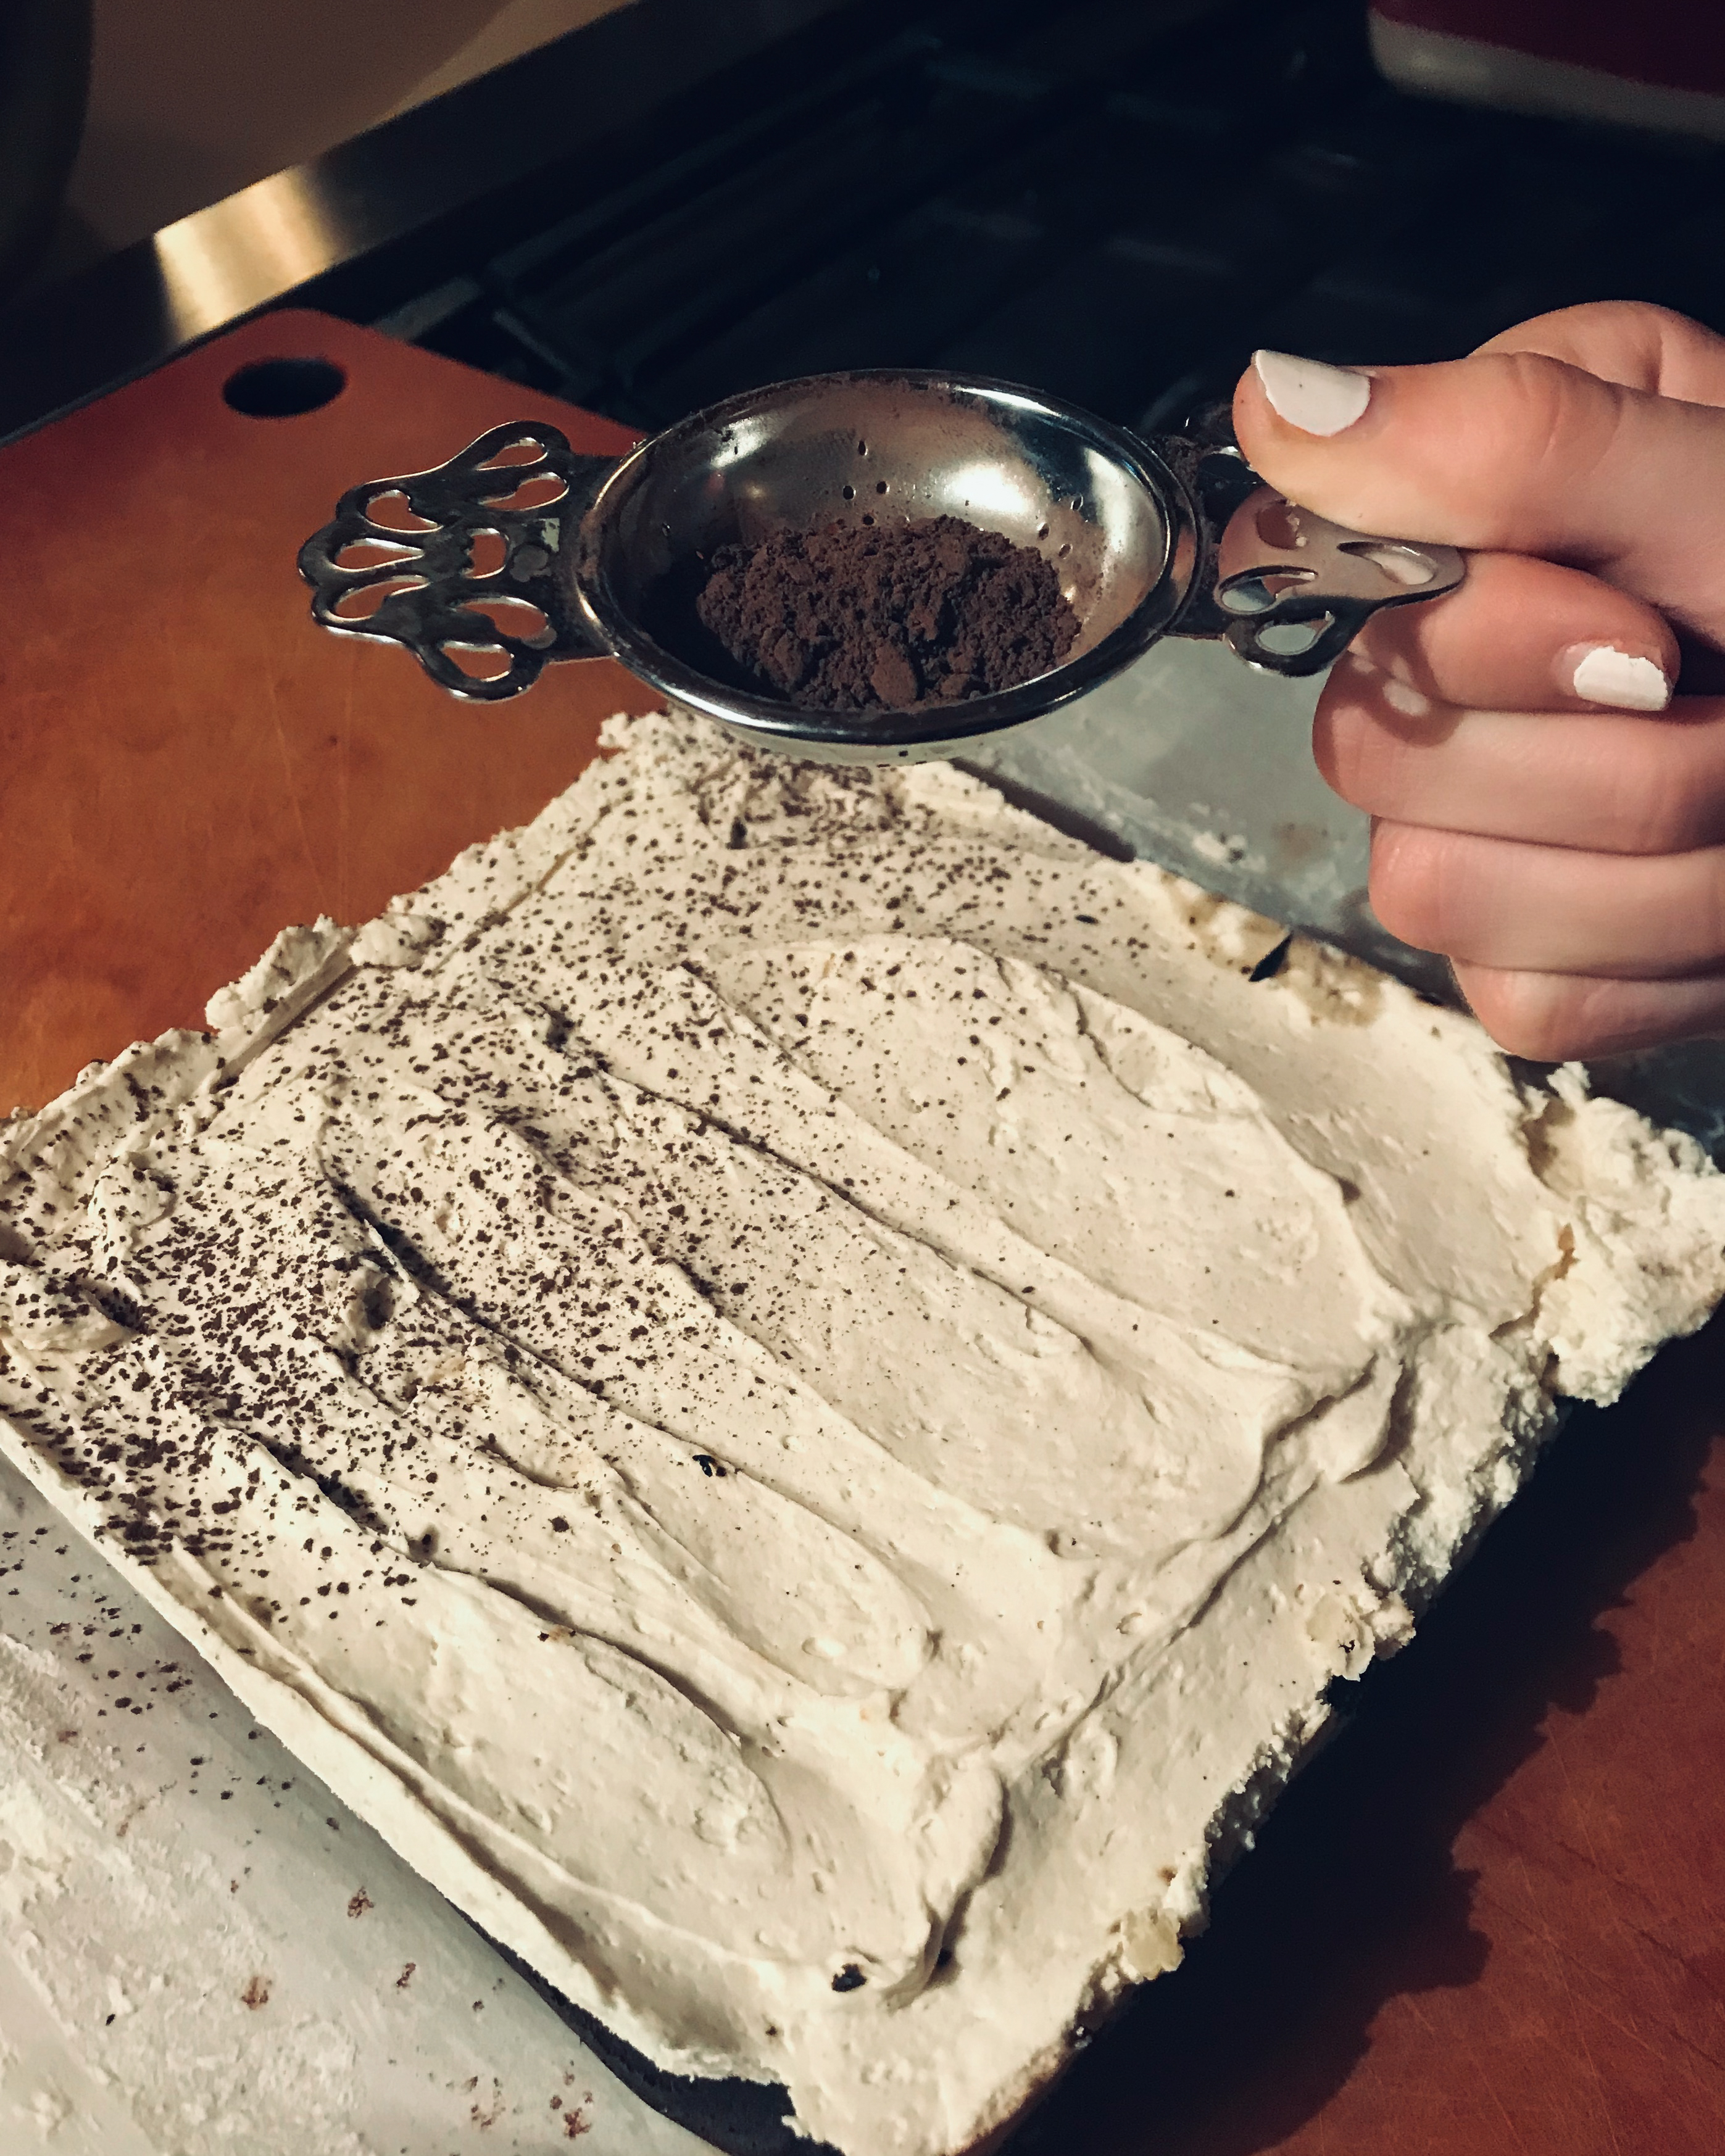
- Either dust cocoa powder or grate your favorite chocolate on top of the brownies.
Calories 226 |Fat 14.5g |Carbs 18.5g |Fiber 15g |Protein 2.5g
These are delish and only 3.5g net carbs per Gourmet Brownie with Cheesecake Topping.
Use your tea strainer to dust your cocoa!
Granddaughter Hannah loves these brownies and was excited to help make them even better. So I had her help make them and be my hand model in a few photos. While these may not be our best effort for photos we had fun and she was amazed at all the photos and time it took. Mainly because she was wanting to eat one and had to wait!
If you are serving these on a tray and want them to really look nice then here are a few tricks. I use my meat-slicing knife because it is designed to slice meat thin and it’s long. Now very carefully trim all four edges of the brownies. Now you have some treats for yourself.
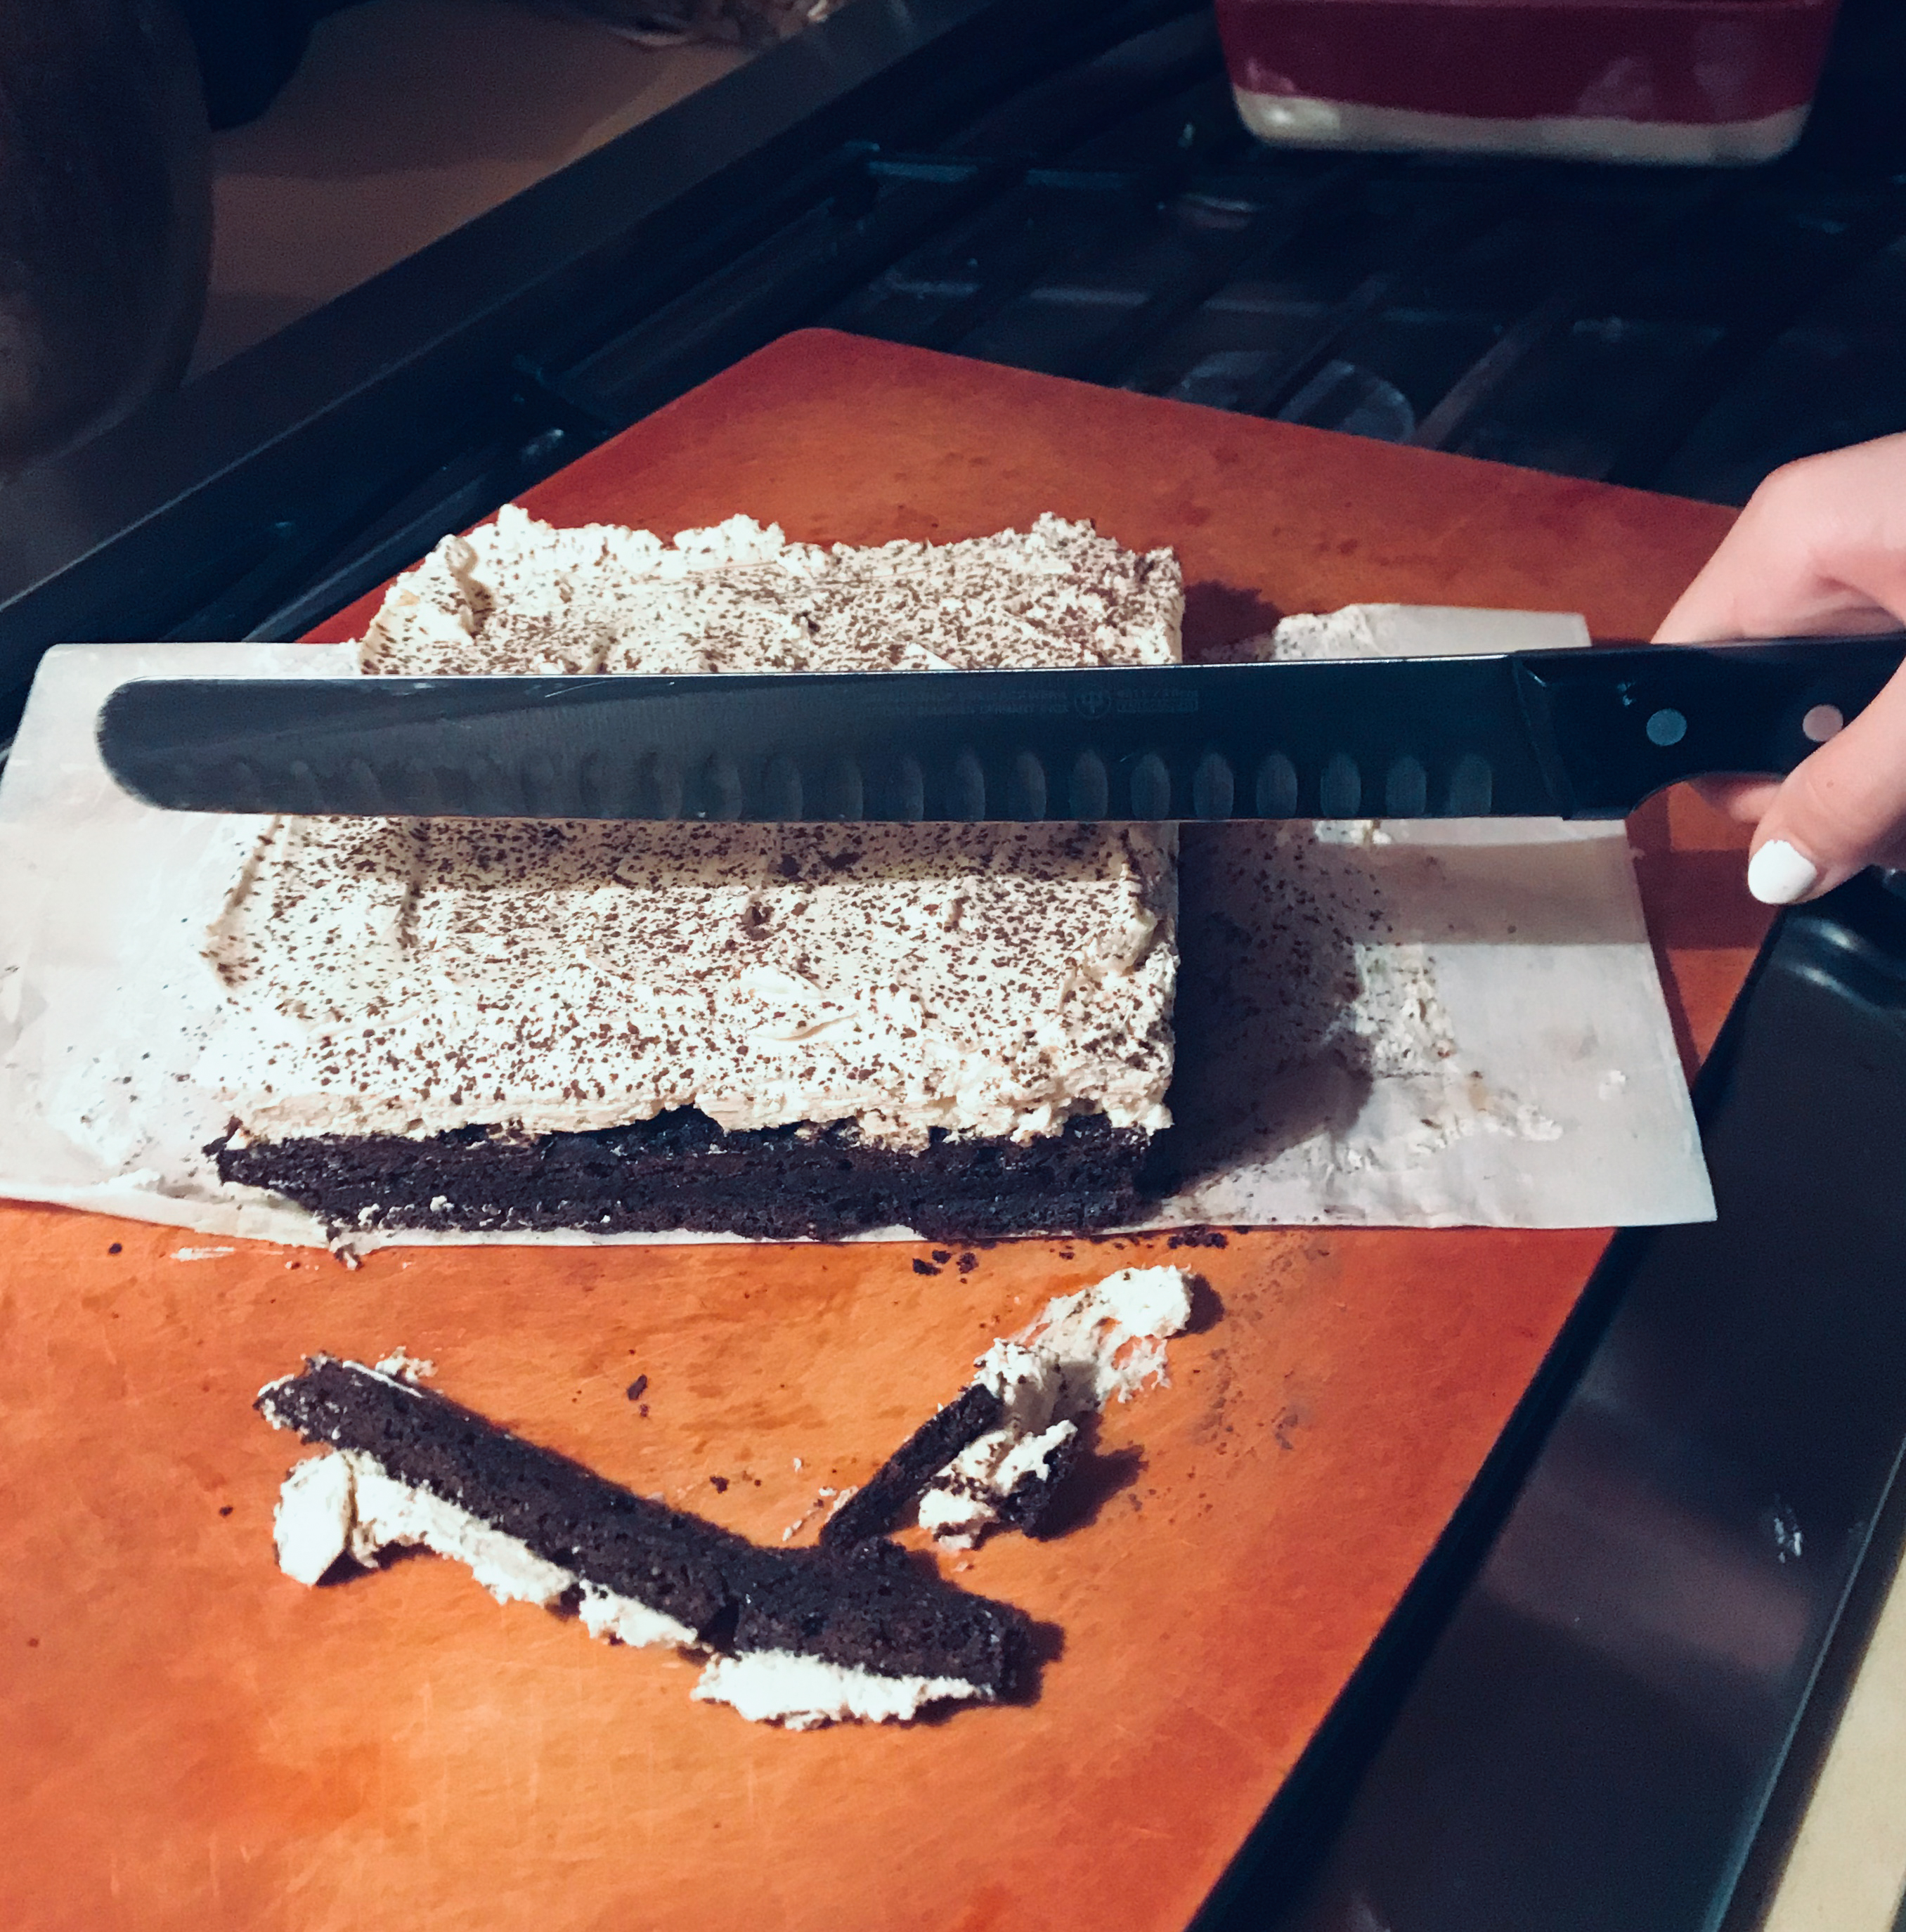
Between EACH cut you will wipe the knife clean otherwise you will have messy sides on the dessert.
Then cut down the middle and then cut each half in two. Now there are four strips of deliciousness. Turn the brownie using the parchment paper and do the same cuts again on the opposite side. Remember to WIPE the knife clean EACH cut so you don’t drag the residue on the knife thru the brownie as you cut it.
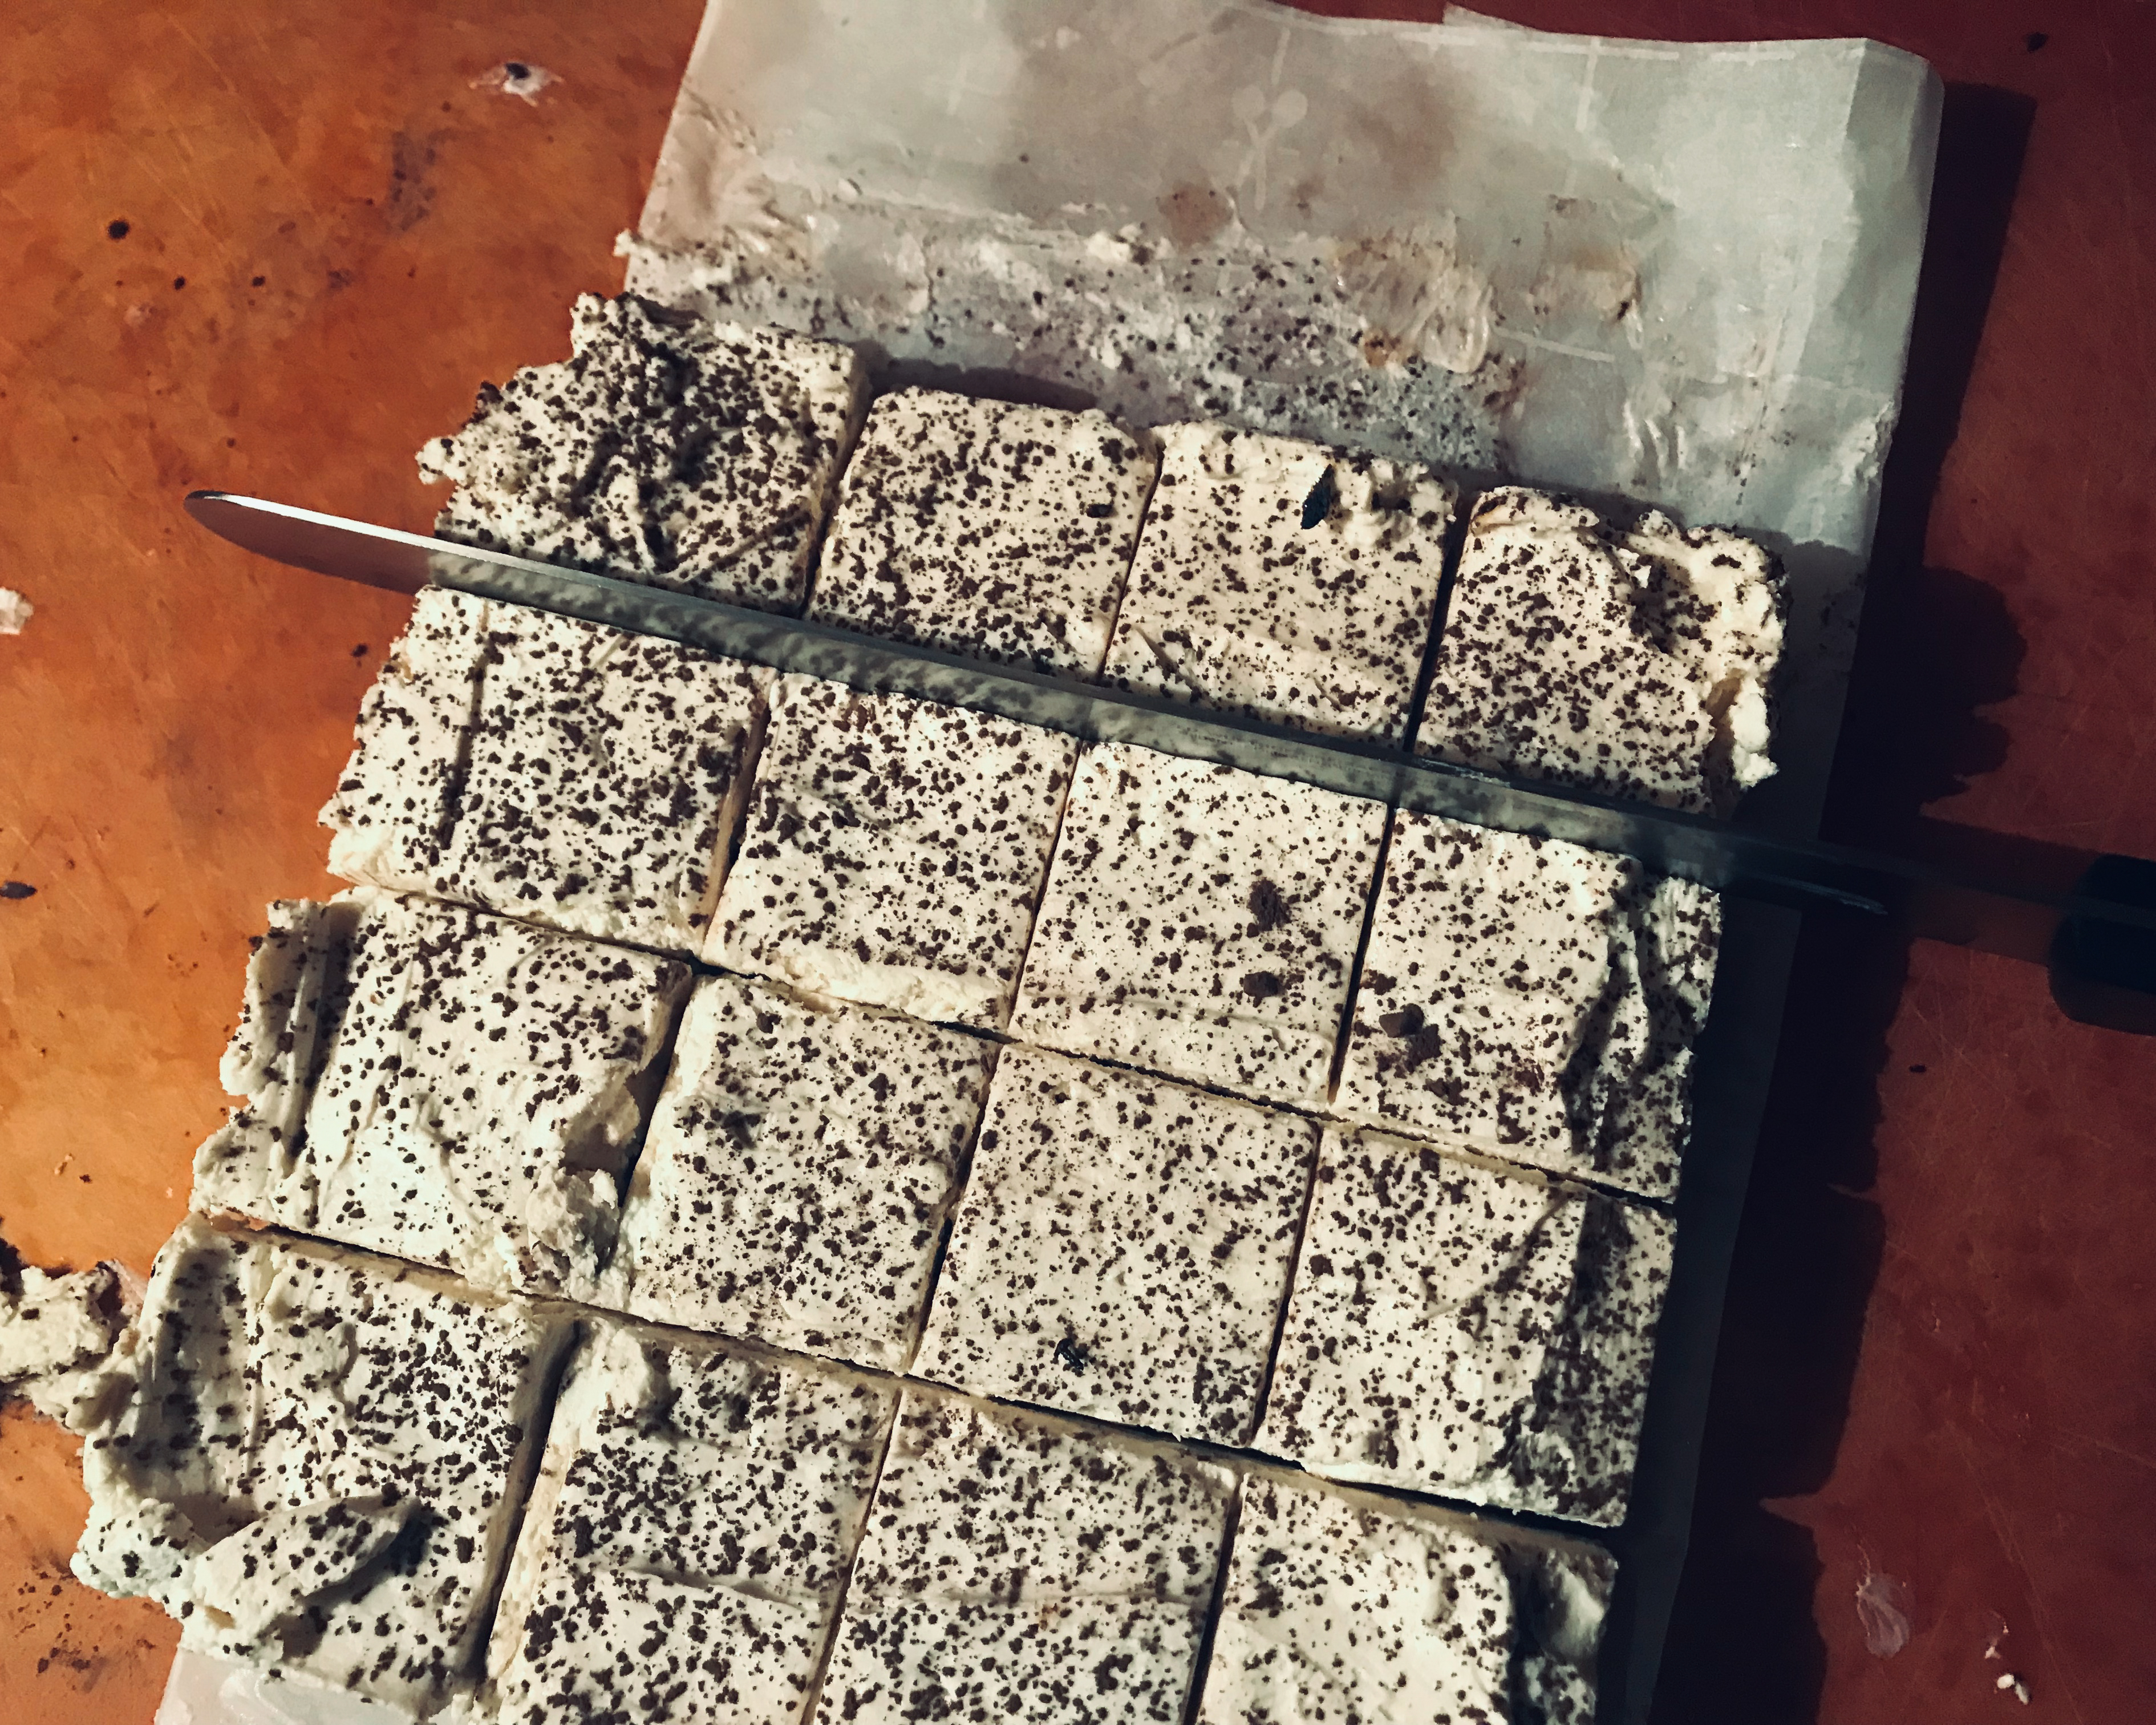
Now you have 16 squares that look even and nice for presentation on your platter.
These can be served immediately but are better after about 30 minutes so the cream cheese topping and the brownie isn’t as cold.
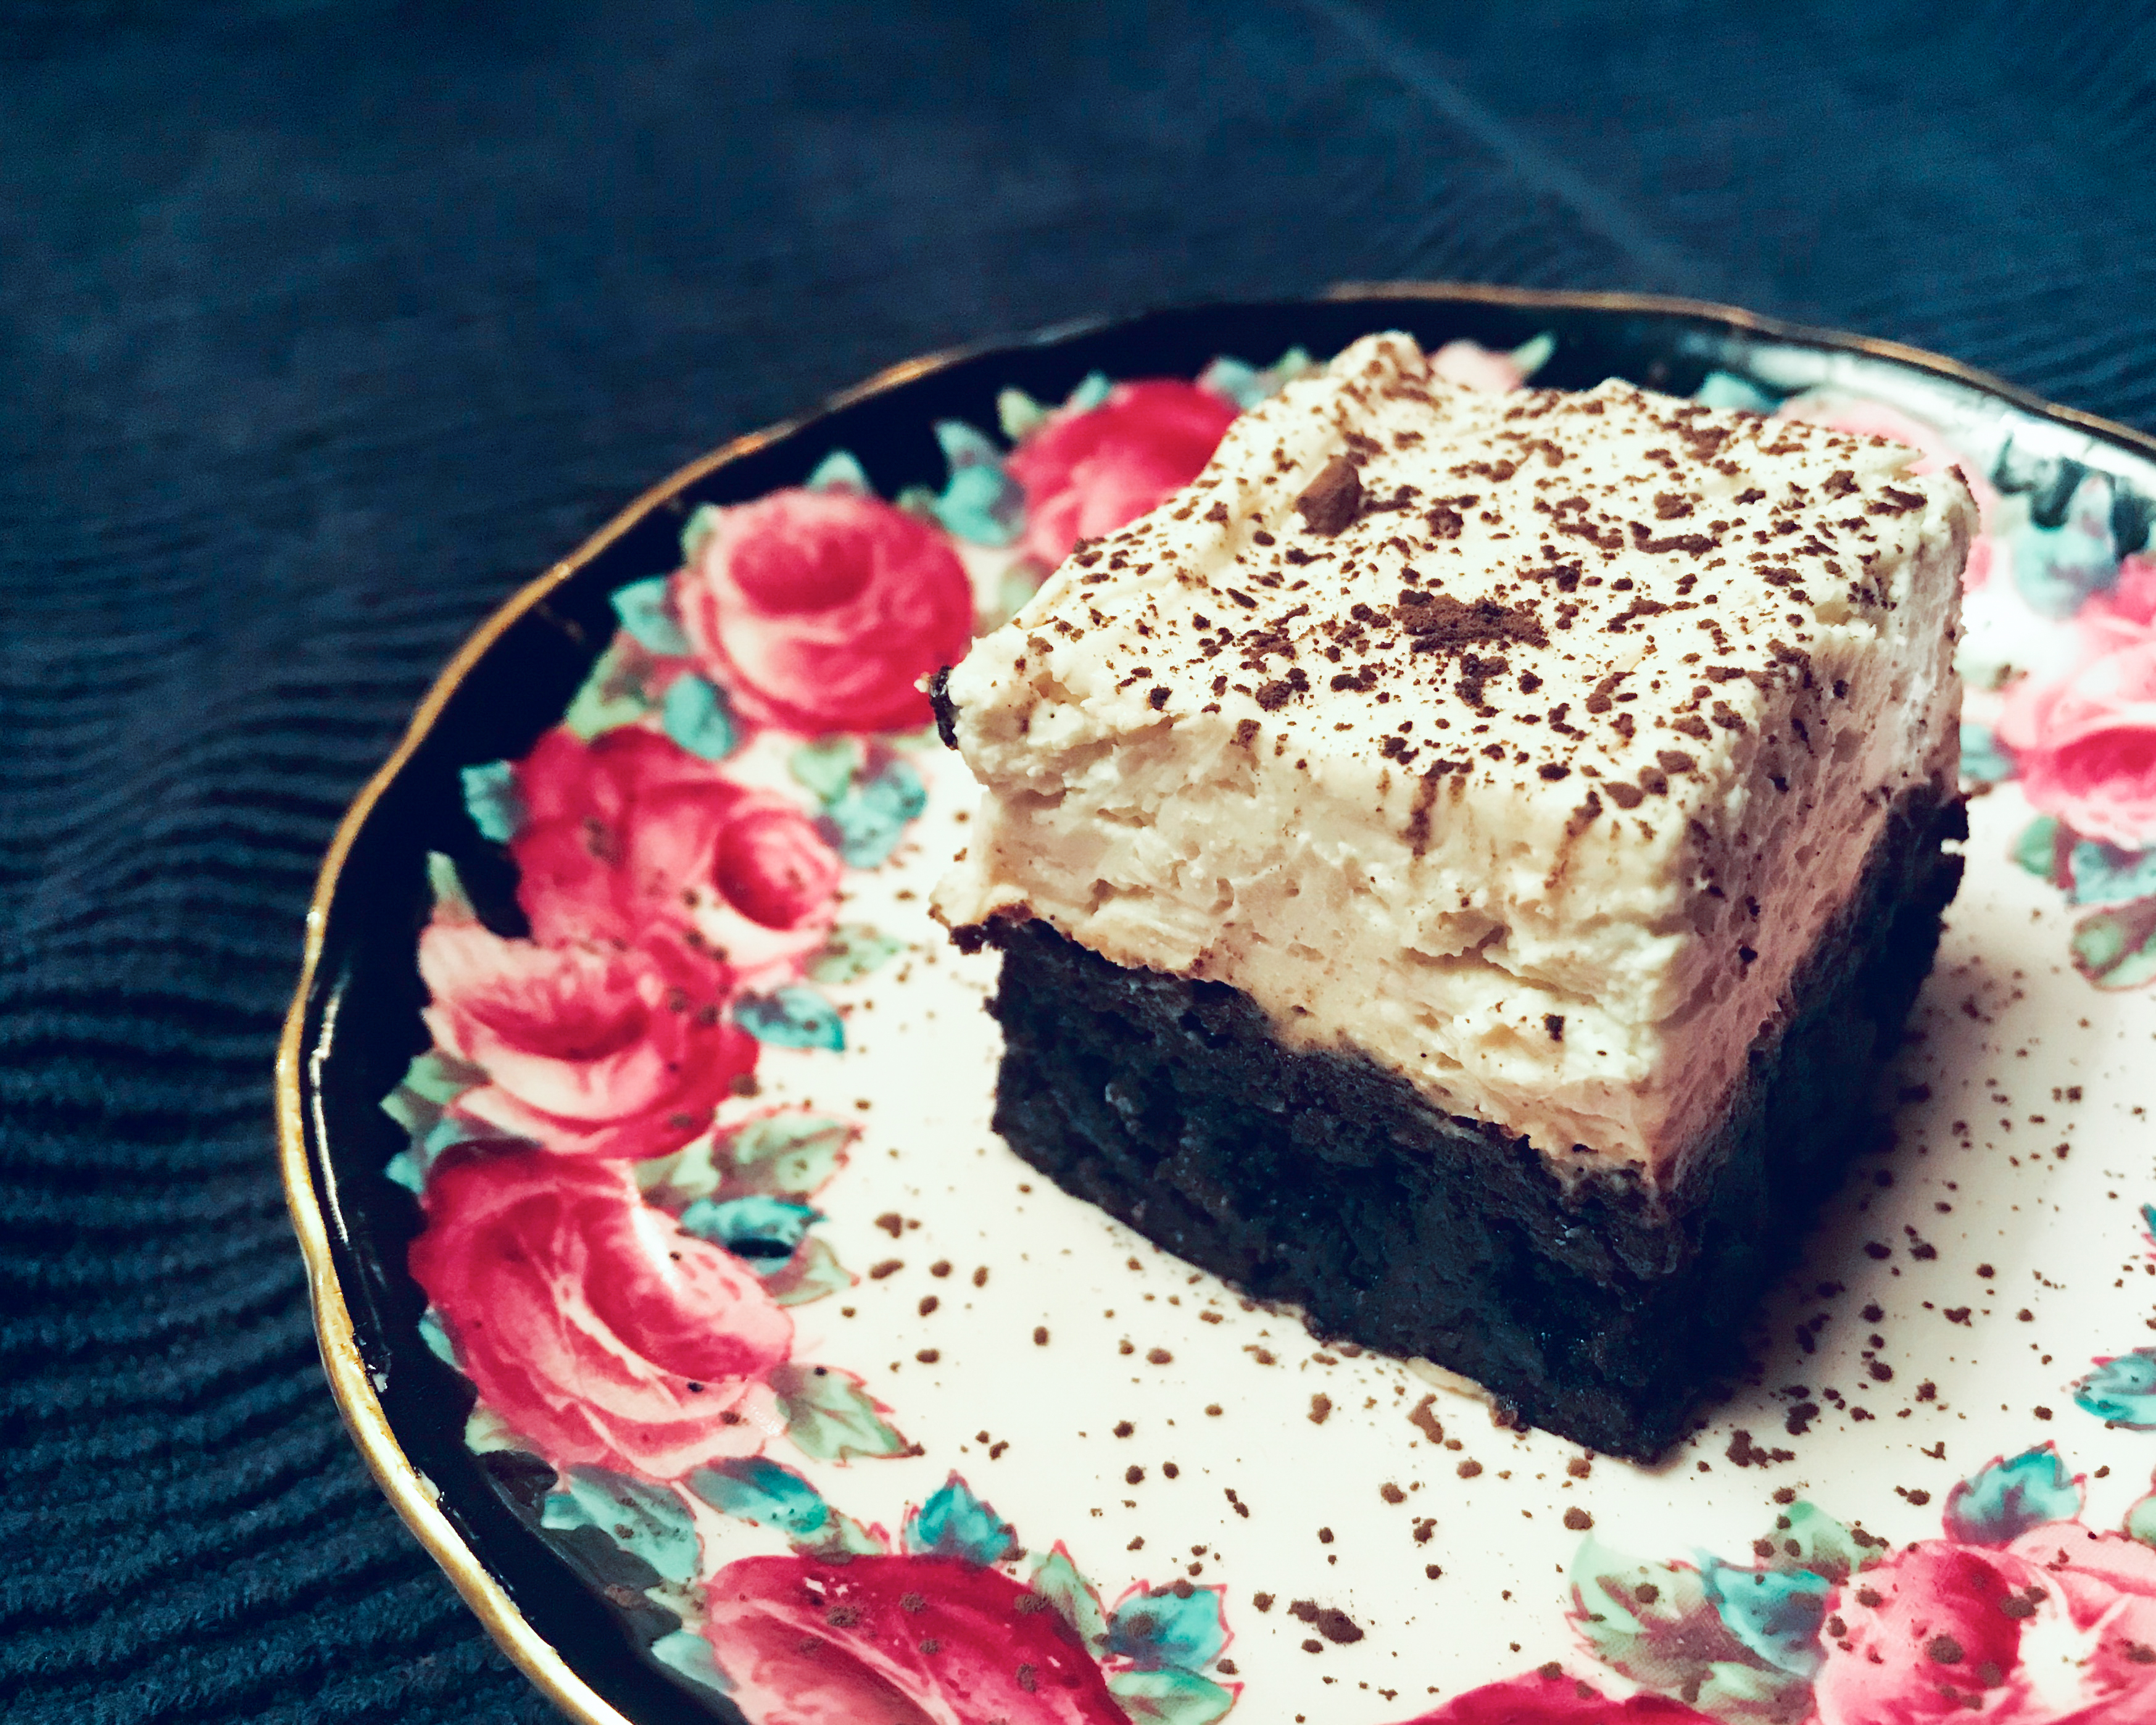
These will will be enjoyed by everyone and no one will know they are a guilt free indulgence. Click here to order Gourmet Chocolate Brownie Mix…
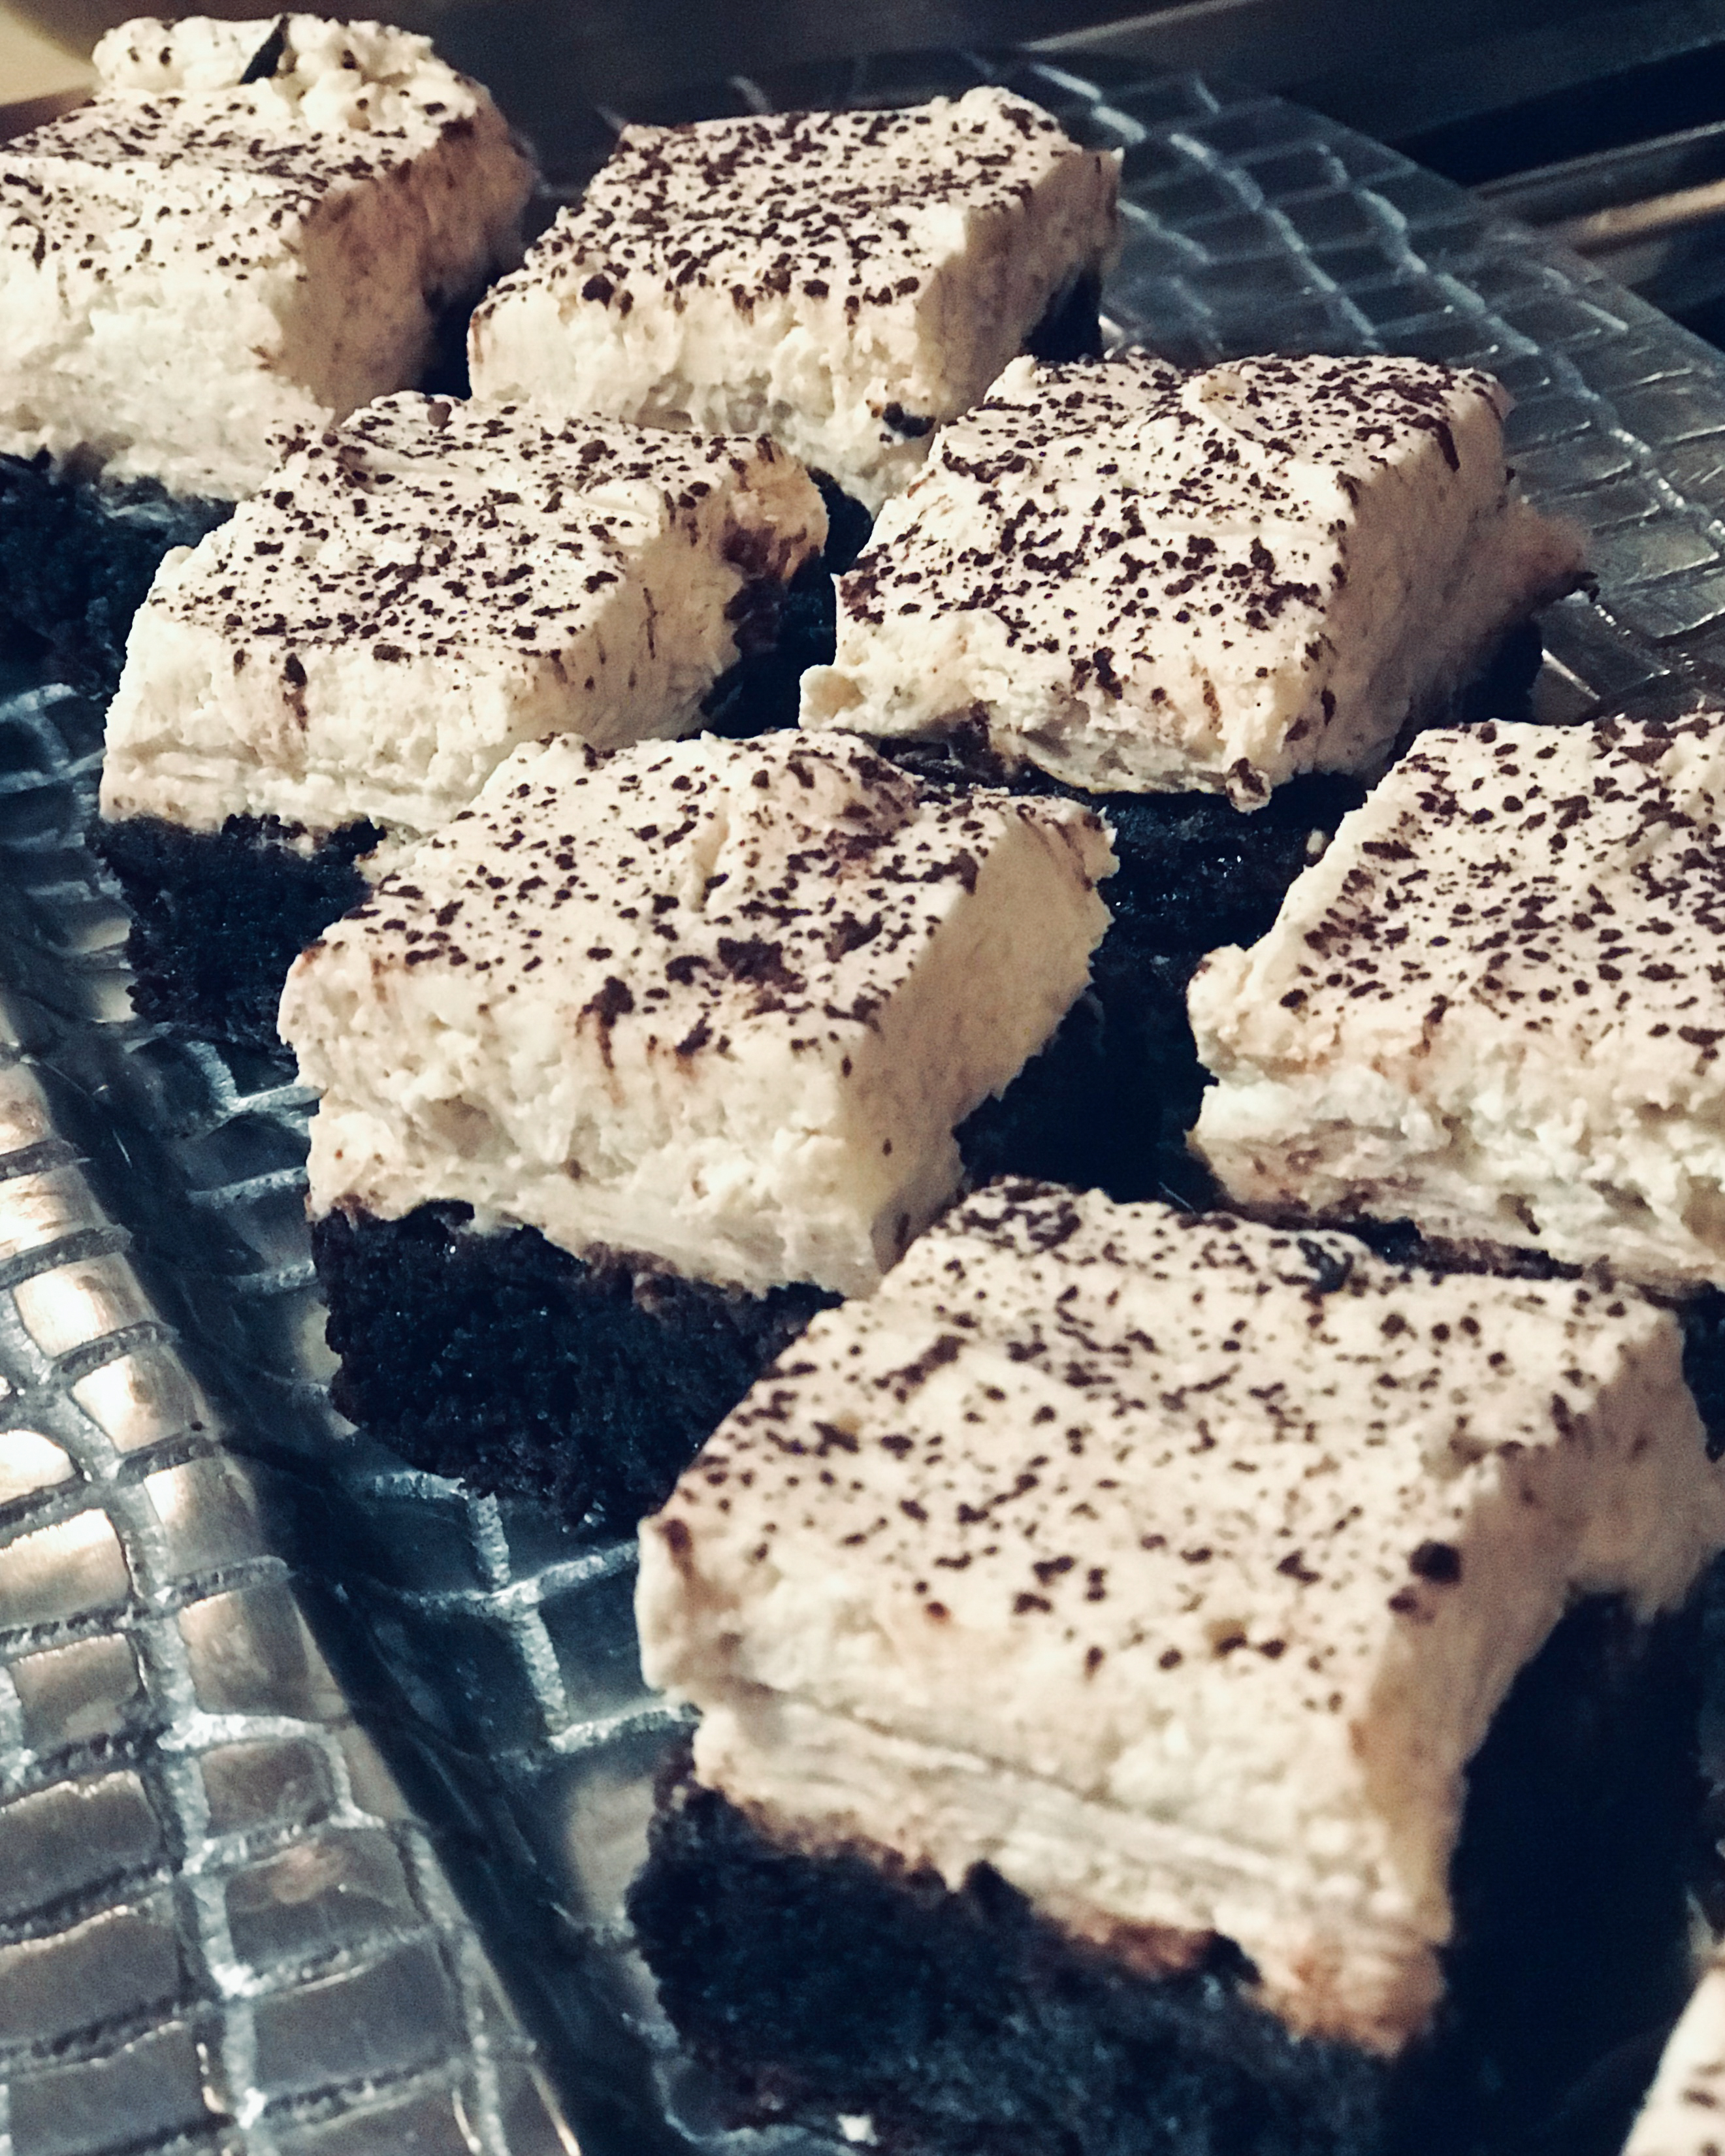

Looks good